How to Use Low-Temperature Thermoplastic Masks in Radiotherapy: A Step-by-Step Clinical Guide
In radiation oncology, precision is everything. With advanced techniques like IMRT, VMAT, and SRS delivering high doses of radiation millimeters away from critical organs, minimizing patient movement is paramount.
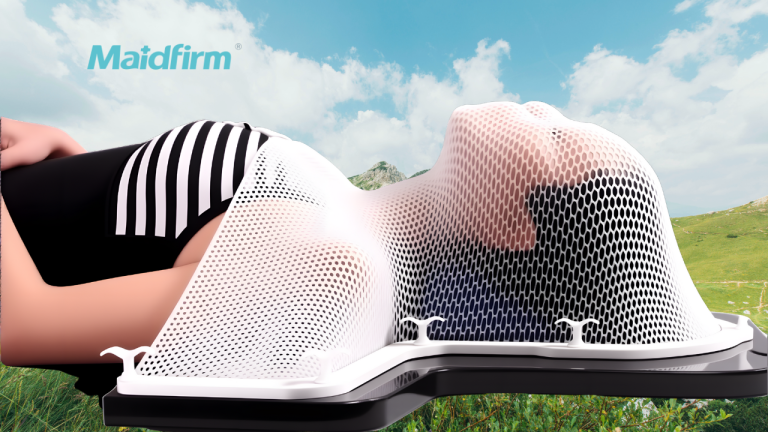
Low-temperature thermoplastic masks have become the gold standard for head, neck, and shoulder immobilization. They offer an optimal balance of rigid stabilization, reproducibility, and patient comfort. However, achieving the perfect fit requires a blend of clinical skill and adherence to technical protocols.
Here is a comprehensive, step-by-step guide on how to properly prepare and use thermoplastic masks in radiotherapy.
Step 1: Equipment and Patient Preparation
Before heating the mask, ensure your workspace and patient are fully prepared.
- Select the Right Mask: Choose the appropriate mask type (e.g., 3-clamp head mask, 4-clamp or 5-clamp head-neck-shoulder mask) and perforation style based on the patient’s anatomy and treatment plan.
- Position the Patient: Place the patient on the carbon fiber baseplate in the supine position. Use the correct head support (e.g., foam or customizable cushions) to ensure the patient is comfortable and the target area is accessible.
- Preheat the Water Bath: Turn on the digital water bath and set the temperature. The industry standard for low-temperature thermoplastics is typically between 65°C to 70°C (149°F to 158°F).
Step 2: Activating the Thermoplastic Mask
- Submerge Evenly: Gently place the rigid thermoplastic sheet into the heated water bath. Ensure it is completely submerged.
- Monitor the Transition: Watch for the material to change. As it heats, the opaque plastic will become transparent and completely pliable. This usually takes about 1 to 2 minutes, depending on the thickness and perforation of the mask.
- Remove and Dry: Use tongs to lift the mask out of the water by its frame. Blot it quickly and thoroughly with a clean towel to remove excess hot water, protecting the patient from burns.
Step 3: Molding and Shaping the Mask
- Temperature Check: Test the mask’s temperature on your own skin or the back of your hand before placing it on the patient. It should feel warm but comfortable.
- Stretch and Secure: Align the mask with the patient’s midline (usually starting from the nose or forehead). Smoothly stretch the mask down over the patient’s face and neck, and lock the frame clamps securely onto the baseplate pins.
- Contour with Precision: Use your hands to gently mold the warm plastic around key anatomical landmarks: the bridge of the nose, the chin, the mastoid processes, and the clavicles. Avoid applying excessive pressure on the eyes or throat.
💡 Clinical Pro-Tip: Instruct the patient to keep their eyes closed and maintain a neutral, relaxed facial expression during molding. Swallowing should be kept to a minimum while the throat area is being contoured.
Step 4: Cooling and Curing
- Allow to Set: The mask must remain on the patient until it cools completely and reverts to its original opaque, rigid state. This process takes approximately 10 to 15 minutes.
- Do Not Rush: Removing the mask too early can cause material shrinkage or deformation, which compromises the setup accuracy ($<2\text{mm}$ tolerance) during daily treatments. You can use cool, damp towels or a dedicated air-cooling system to speed up the process safely.
Step 5: Laser Marking and Verification
- Initial Setup Alignment: Once the mask is rigid, use the room’s alignment lasers to mark the reference centerlines directly onto the mask using a skin-safe marker.
- CT Simulation: The patient is now ready to undergo the CT simulation scan with the mask securely in place. These reference marks will later be aligned with the digital treatment planning system (TPS).
Best Practices for Minimizing Patient Anxiety
For many patients, being locked into a rigid mask can trigger claustrophobia. To ensure a successful molding process:
- Communicate First: Explain the entire process to the patient before heating the mask. Let them know it will feel like a warm, snug facial.
- Ensure Visibility/Breathing: Opt for open-face or widely perforated masks if the patient is highly anxious, provided it doesn’t compromise immobilization needs.
- Maintain Verbal Contact: Keep talking to the patient during the 10-minute cooling phase so they know they are not abandoned.
Summary
Mastering the use of low-temperature thermoplastic masks is essential for any radiation therapy department aiming for sub-millimeter precision. By controlling water temperatures, molding contours accurately, and managing patient comfort, clinical teams can ensure highly reproducible setups across the entire multi-week course of radiotherapy.
Contact Maidfirm Medical
Website: www.splintmask.com/www.maidfirm.com
Contact us today for:
- Free Samples
- OEM Cooperation
- Distributor Partnerships
- Product Quotations